In order to avoid long queues at airline check-in counters at the airports, airlines recommend that the check-in be performed online. For this purpose, the airlines define the time-period within which this can be done. Basically, at the end of check-in you are issued the boarding pass, which is mandatorily required for boarding the flight. IndiGo airlines also provides the facility of web check-in which can be performed using its mobile application or website.
Salient Features of IndiGo Web Check-in
Here are some of the salient features of IndiGo online check-in:
- It is available for both domestic and international flights operated by IndiGo.
- It is available 48 hrs. to 60 minutes before the scheduled departure time of flights on domestic routes and 24 hrs. to 75 minutes before the scheduled time of international flights.
- Unaccompanied Minors, passengers with medical conditions and those on stretchers are required to check-in at the airport. Airport check in can be done till 60 minutes before domestic flight departure time and 75 minutes before international flight departure time.
- Passengers with check-in baggage can also perform the online check-in, and get the tags for their bags. These need to be printed and tagged to the bags. Otherwise, you can simply drop the check-in bags at the drop-off counter where these are weighed and tagged.
- If you have not already bought add-ons at the time of ticket booking, you can add these during the process of check-in.
How to do web check-in?
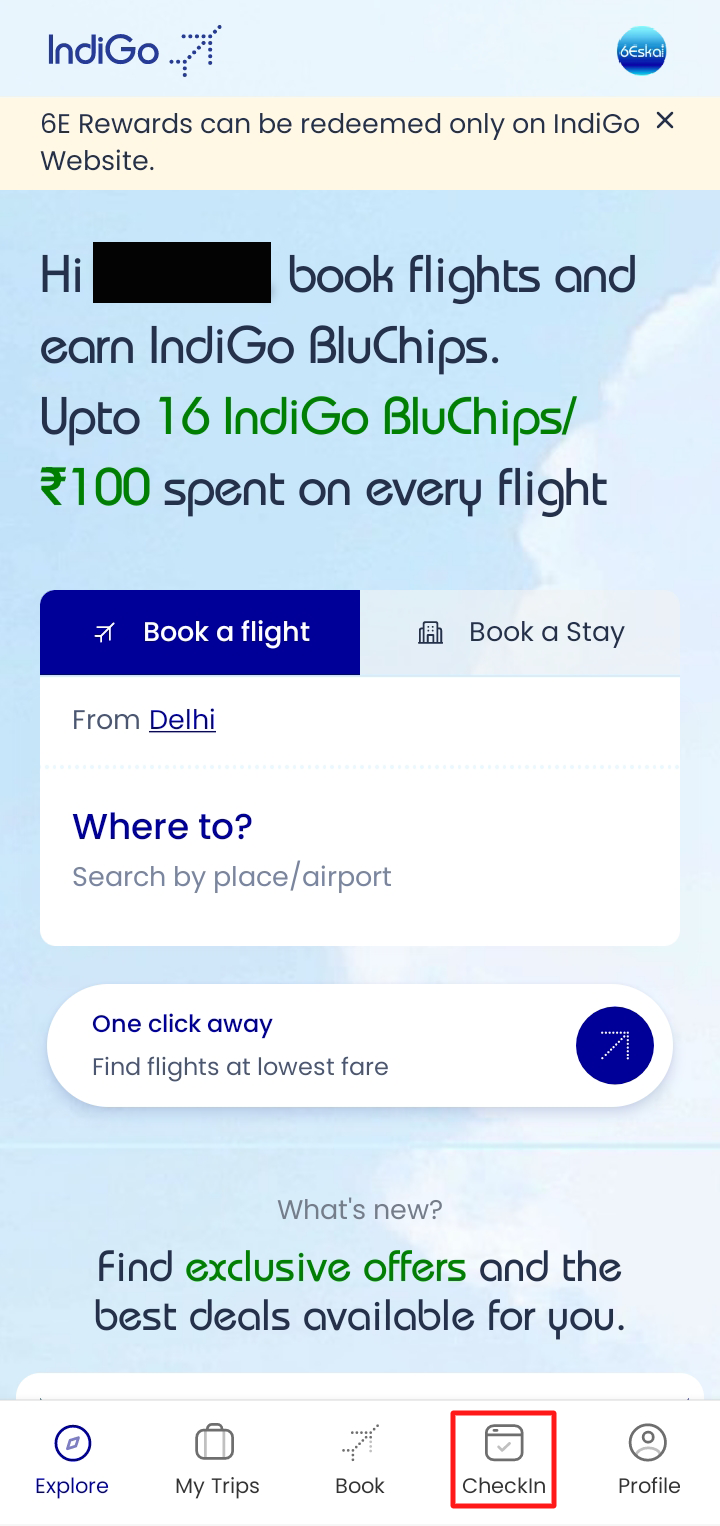
- Visit https://www.goindigo.in/web-check-in.html . You can also use the ‘Check in’ section in Main Navigation of website. In mobile application of the airline, it is available at the bottom of home page screen.
2. Provide PNR or Booking Reference, and, Email or Last Name of passenger and click ‘Check-in’ button. This starts the online check in process.
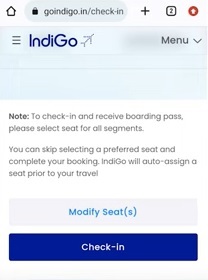
3. You are required to select the seats, if these are not already selected. You can either have the seat of your choice, or opt for automatic selection. You can even modify the seat assignment from here.
4. Thereafter, you can chose the add-ons which you would like to have, such as excess baggage, seats, insurance against loss of baggage, fast forward priority boarding service, meals and others.
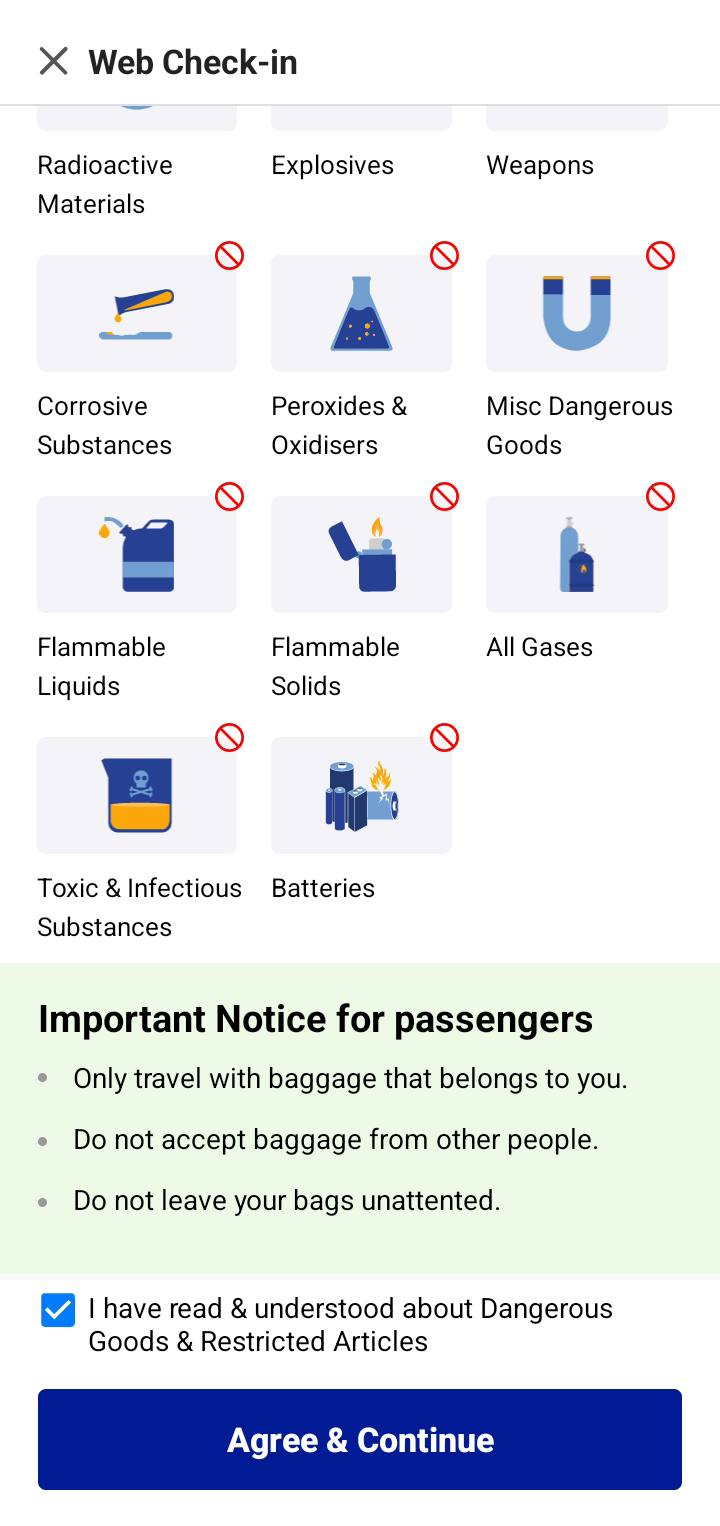
5. Next, you are informed about the dangerous materials which are not allowed in flight. At the end of this page/screen, you have to check mark the box to agree and continue.
6. Next, personal details, such as date of birth, email id and phone number are to be provided against the name of each passenger traveling on ticket. The boarding passes are sent to these email IDs and phone numbers.
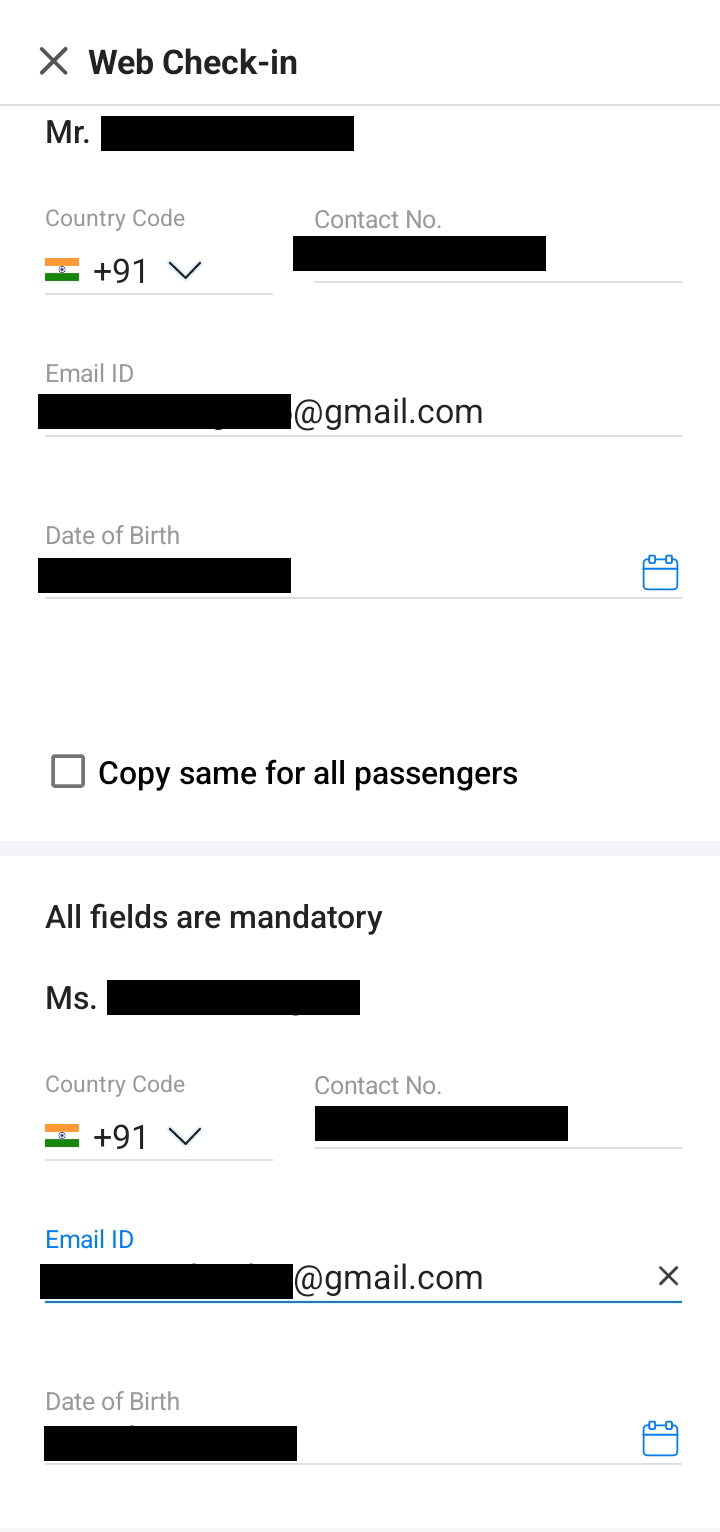
It is important to make use of those contact details which are checked on regular basis.
7. After this step, the boarding pass is issued in end after seat is assigned or selected. It might take the airline a few minutes to a few hours to send the boarding pass to your mobile or email.
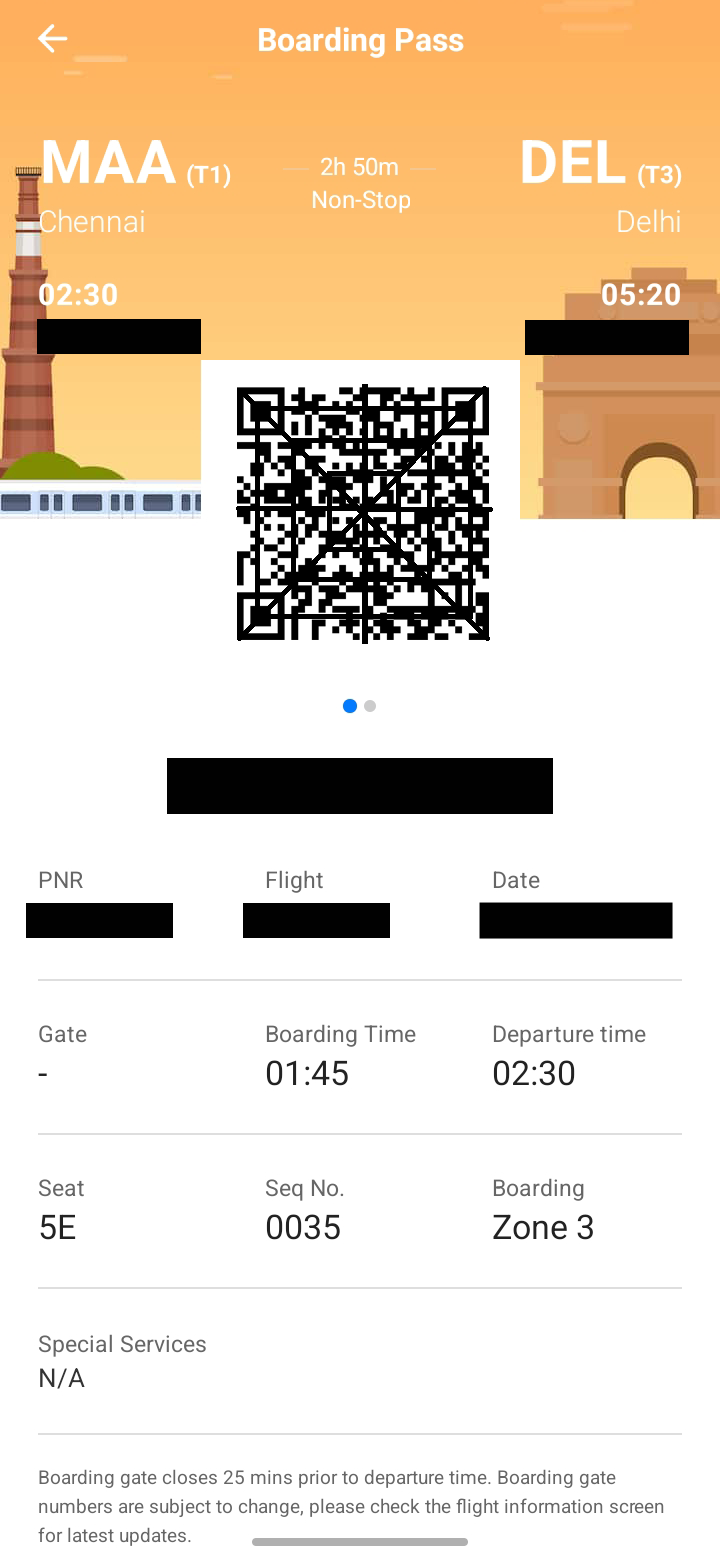
IndiGo Boarding Pass
- Boarding pass is sent to email or mobile phone through SMS or Whatsapp message (on opting for this service). It can also be downloaded to the phone.
- Duplicate boarding pass can also be availed, in case the original one is lost.
- Printing of boarding pass is also preferable before going to the airport, though at some airports even the mobile boarding pass can be shown while entering airports or during check-in.


 Kedarnath....the holy shrine of Lord Shiva
 What Is The Best Travel Routes From Delhi to Leh & Ladakh
  What to Carry for a Thrilling Safari in Jim Corbett National Park
 What Is The Best Way To Travel From Delhi To Kedarnath: By Road, Train, Or Flight?
 Popular Routes of Indigo Airlines
 SpiceJet Baggage Allowance
 Packing Tips for Meghalaya: Monsoon Adventures Made Easy
 How to Travel Himachal Pradesh Like a Local and Save Big?
 Akasa Air Baggage Allowance 2025: What You Shall Know
 Everything You Need To Know About Air India Pet Policy